Page 1 of 1
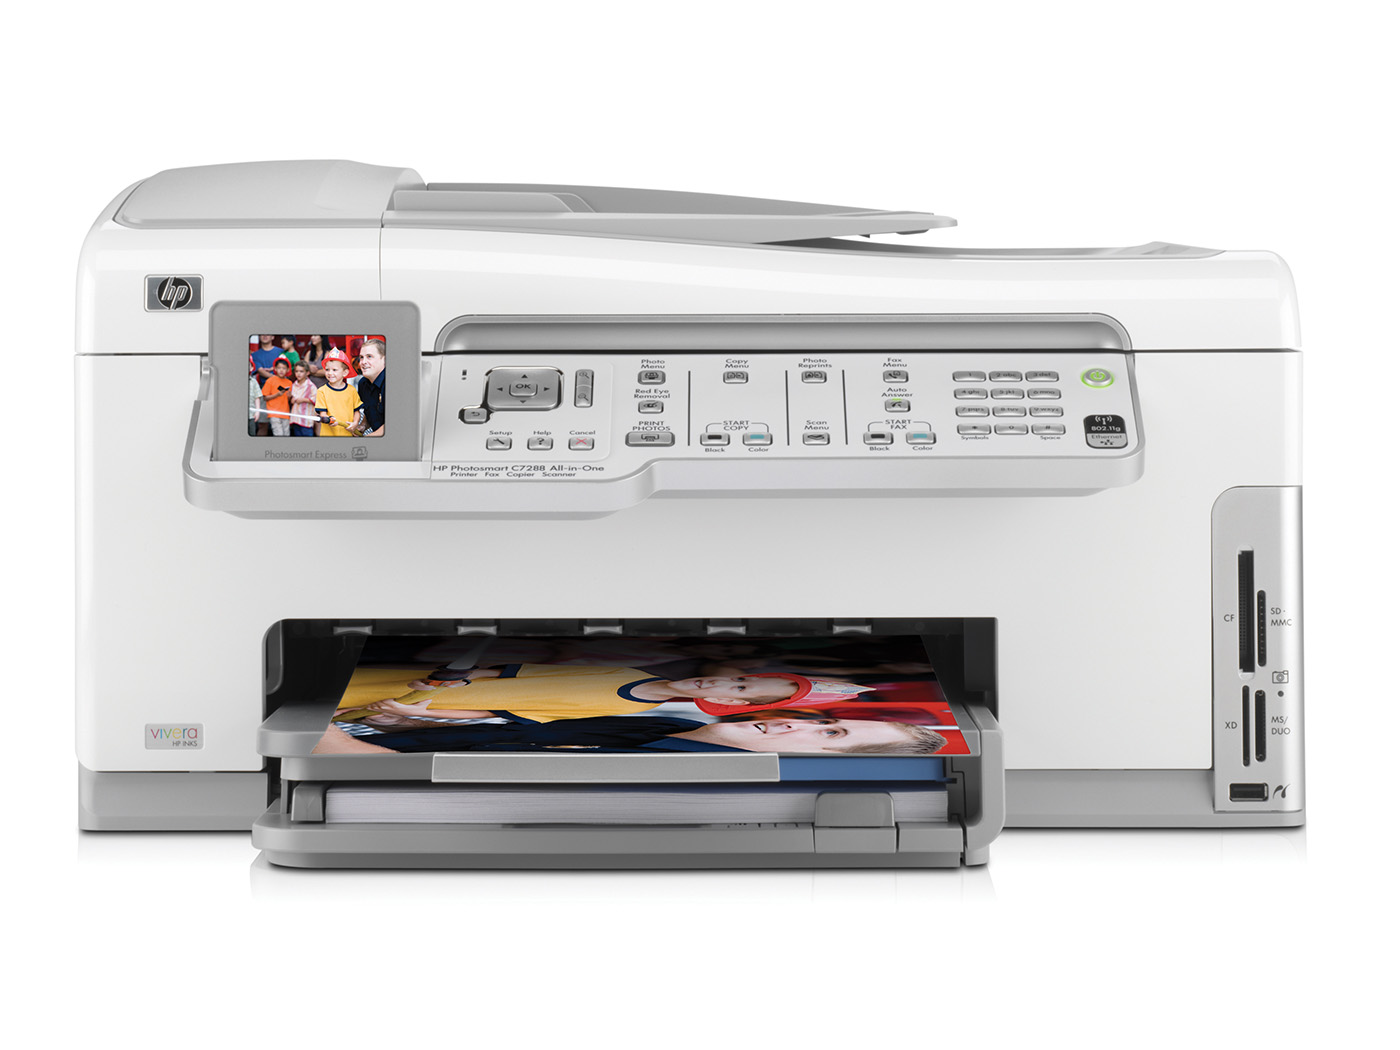
How to disassemble HP C7280 Printer
Posted: Fri 25 Jan 2013 10:51 pm
by tong
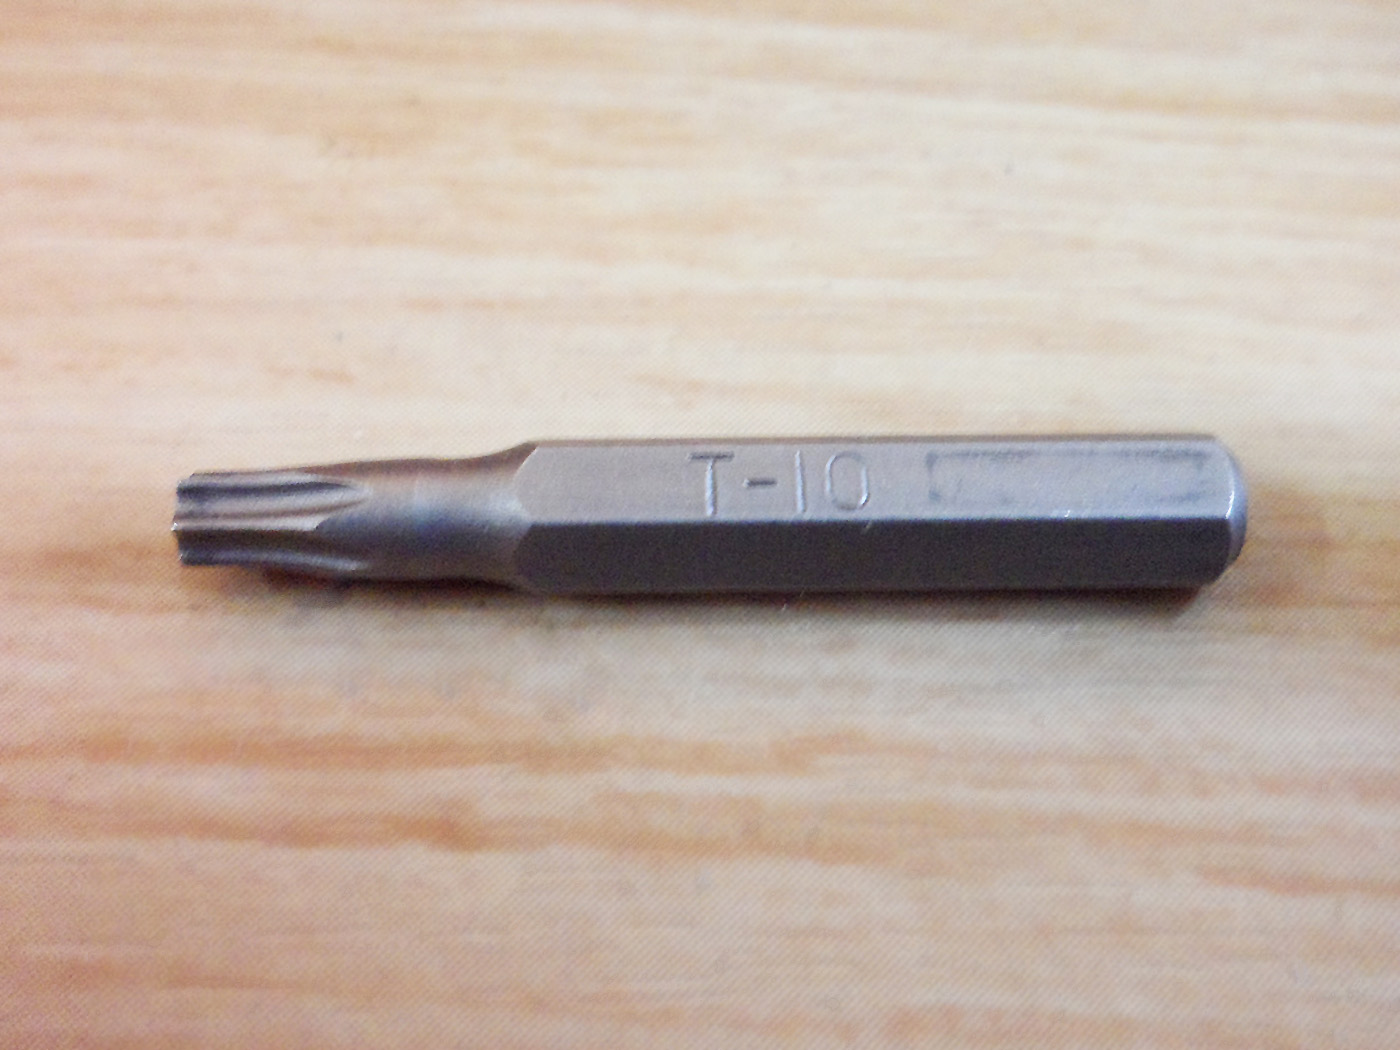
Use Torx Screwdriver T10.
Re: How to disassemble HP C7280 Printer
Posted: Fri 25 Jan 2013 10:55 pm
by tong
Re: How to disassemble HP C7280 Printer
Posted: Sat 26 Jan 2013 3:37 am
by tong
Re: How to disassemble HP C7280 Printer
Posted: Sat 26 Jan 2013 3:41 am
by tong
Re: How to disassemble HP C7280 Printer
Posted: Sat 26 Jan 2013 1:29 pm
by tong
Re: How to disassemble HP C7280 Printer
Posted: Sat 26 Jan 2013 1:39 pm
by tong
Re: How to disassemble HP C7280 Printer
Posted: Sat 26 Jan 2013 1:41 pm
by tong
Misc
Re: How to disassemble HP C7280 Printer
Posted: Thu 27 Nov 2014 2:46 am
by robert
I see the disassembly of the printer that you've made, is to clean the print heads.
I do not know if you could tell me, as didactically as in this page, how to proceed if the goal is to replace the gears which rotate the rear axle to move the recording sheets of paper.
Thank you.
Re: How to disassemble HP C7280 Printer
Posted: Thu 27 Nov 2014 10:37 am
by tong
I am so sorry. I don't know too. I destroyed these printer already since I can't fix the black color error code.
Re: How to disassemble HP C7280 Printer
Posted: Thu 27 Nov 2014 11:01 pm
by robert
Ok .Thanks anyway
Re: How to disassemble HP C7280 Printer
Posted: Sun 29 Jan 2017 6:10 pm
by Marc
Hi,
I have disassembled my printer, but before I could take it back together I got sick and I've been in hospital for a while.
So when I came back, I have unclogged everything, but I forgot how to reassemble it.
Then I found your post on how to disassemble it, but there is one part that I don't know where to put.
It is the part that I have circled in red on the attached picture "Modified_35.jpg".
I can't find this part anywhere in the disassembly process, it just show up on this picture.
If you could give me a hint, on where it goes, I would be more than happy and very thank full.
Thanks in advance.
Marc
Re: How to disassemble HP C7280 Printer
Posted: Sun 29 Jan 2017 11:23 pm
by Marc
Hi,
I finaly found the way to install the part in picture Modified_35.jpg, I would place between 33.jpg and 34.jpg. I named it 33.5.jpg.
Thanks anyway your how to has been very helpfull.
Marc